Home
Repair And RestorationStreet Triple RX Salvage (Cat C)
Sorting The Rear End
By Stephen Latchford
December 2015
So after convincing myself that I made the right decision buying the 'wreck' I now had to source parts. I created a short list..
- Subframe
- Panels for the subframe
- Both seats
- Rear light
- Bracket for rear light
- Full set of indicators
- Mirrors
- Bar ends
...and that was just for starters. There was no way I could do this rebuild using new parts because it would work out too expensive and that is with my free labour. Thankfully (hopefully) Ebay will come to the rescue.
After taking delivery of the bike I noticed a very bent front disc... Oh b*^#+,! More money needed. Ah well that is what you get when you don't go over everything with a magnifying glass. Better get on with trawling ebay for parts. Meanwhile I stripped all the damaged parts off the bike.
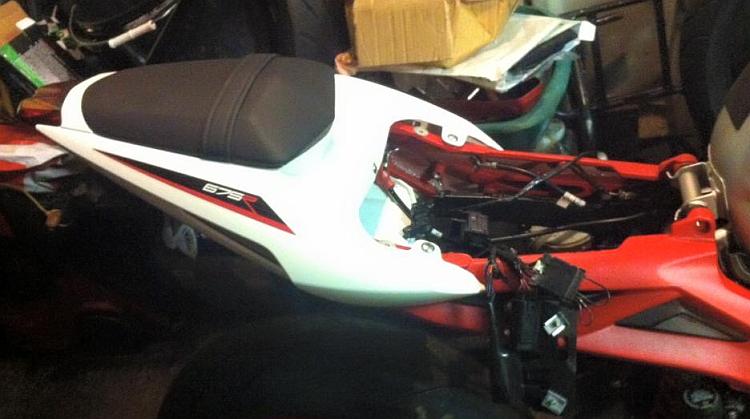
The first item to arrive was a subframe from the R model so that evening I just had to see how it looked and bolted it on with the four heavy duty torx bolts to the main frame.
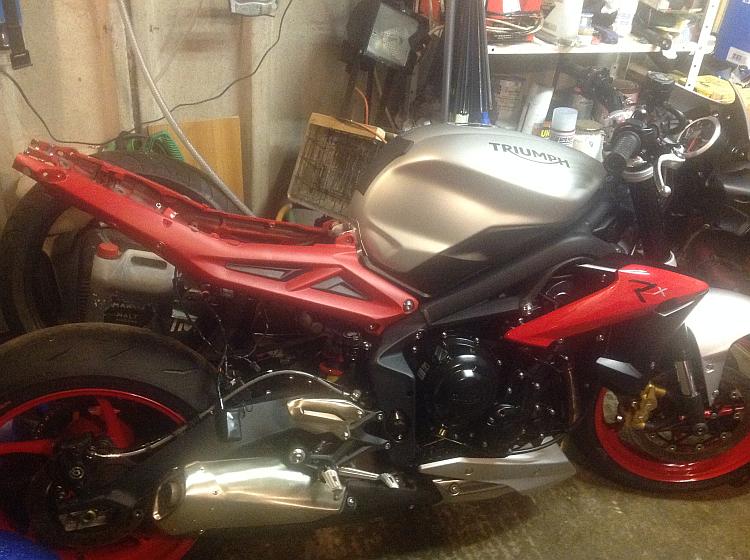 So it looks like a bike again, great.
A day later and a set of bodywork panels arrived at work. This was a complete set from a new bike being broken, they're from the Daytona in crystal white complete with Daytona graphics. At home this was loosely offered up into position which showed me what other parts and work were needed before I could fit them. Primarily I needed to fit the brackets and re spray the panels to the correct silver.
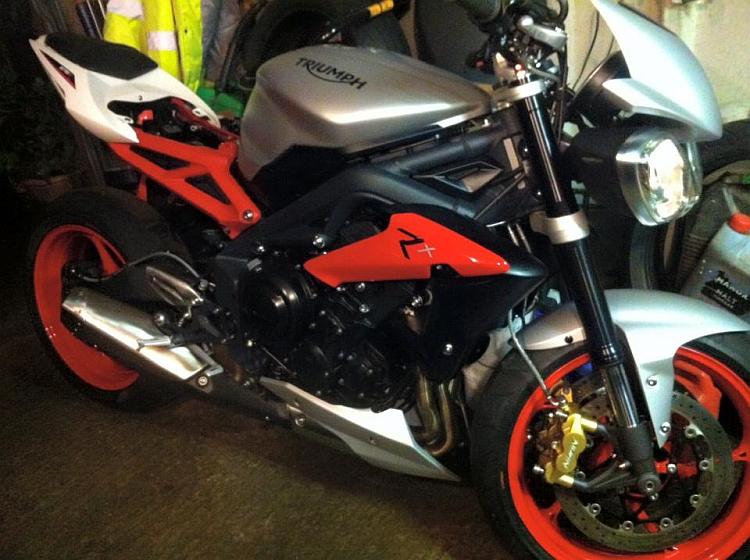
Well the Datyona bits look about right.
With more pieces in place I could now see that I needed a different rear bracket. This holds the two halves of the subframe together and houses a seat lock for the tiny rear passenger seat, I needed one like this.
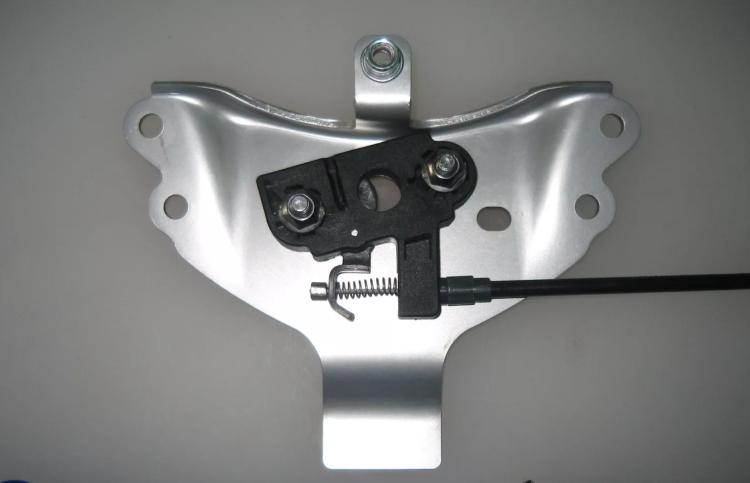 The bracket and seat lock.
I also needed a bracket to support the bodywork and riders seat like this one.
 The bracket for the bodywork and the rider's seat.
So thanks to the same 'speedy 675' guy who I got the bodywork off, I found he was also selling the afore mentioned brackets I needed. When these arrived I could clearly see they were not going to fit straight on, grrrr! If you remember the subframe is from the R model so holes had to be drilled and tapped and the correct fasteners ordered from Triumph. I went back to work once more with my trusty cordless drill then my tap and die set both of which I am now very familiar with. I created six 6mm threaded holes in total.
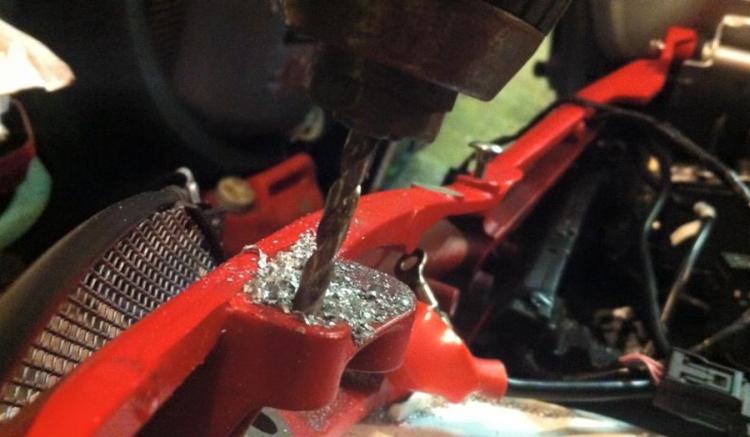 I'm getting very good at this now.
After the holes were drilled and the fasteners arrived, it all fitted beautifully together.
 Excellent, job done and done properly too.
After trying to straighten the undertray moulding and failing miserably I found that a new item would cost me less than a second hand one. Sometimes it pays to ask at the dealers first as the ebay sellers just seem to pluck a figure out of the air and try their luck. At £38 plus postage for a second hand one or £28.57 for a new item inc. vat there was no contest.
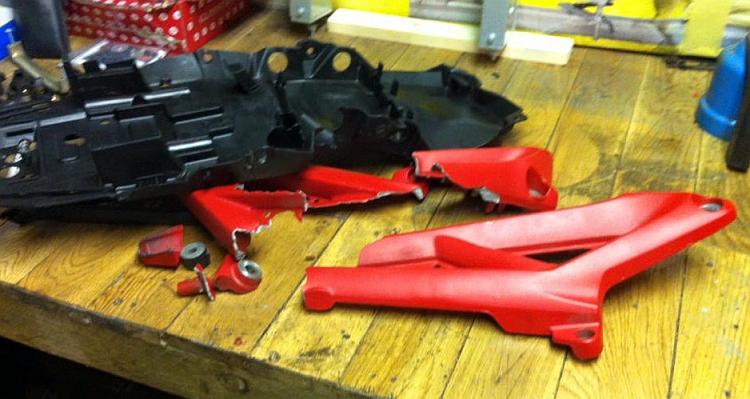 The damaged moulding and what was left of the subframe.
On with the build. Some days later I offered up the ABS(Anti-Lock Braking System) support bracket and found that there was no access to get either a spanner or socket into the securing bolts. Simply put - the ABS unit was in the way. The subframe had to come off once more, the bracket had to be secured inside and then I could slide the subframe together with the ABS bracket back into position. Once this was done I could fix the ABS pump to the bracket etc.etc. etc... It all had to go together in a certain order which turned out to be fiddly and annoying to say the least. To cap it all off the undertray wouldn't go in without a fight until I realised the wiring was all in the wrong place in front of everything I had fitted. DAMN IT! I had to take the whole lot out again.
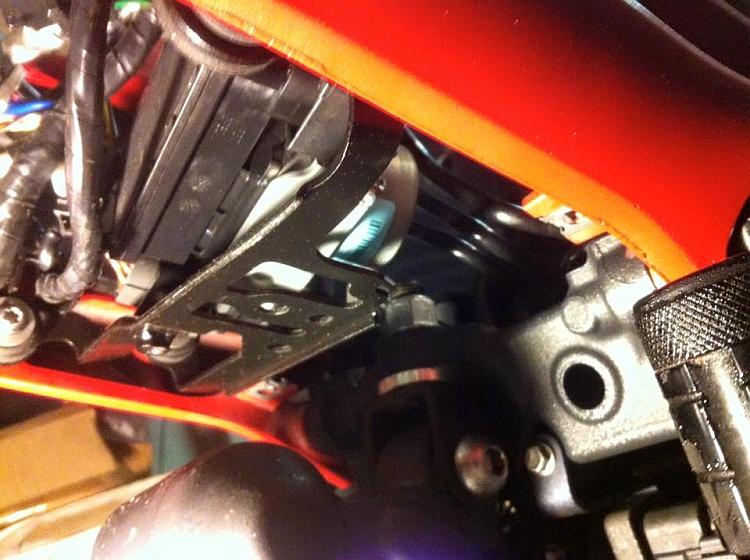
The abs bracket, no hope of getting the securing bolts into the inside of the subframe here.

And the undertray moulding which I foolishly manoeuvred into position
Better leave it for today I thought, so I went in and retired for the night. Fast forward to the next evening and because I had rehearsed it all in my head it soon went together as it should do. It's all there now, just a little tidying up to do.
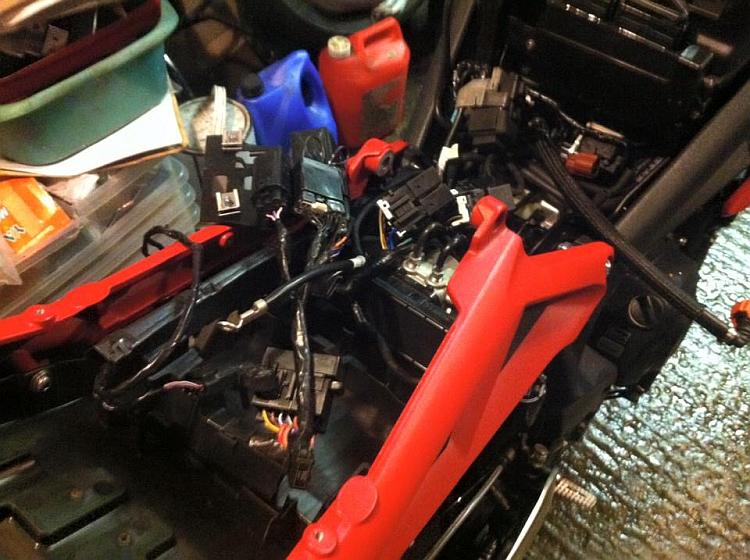 Just a few wires to put in place.
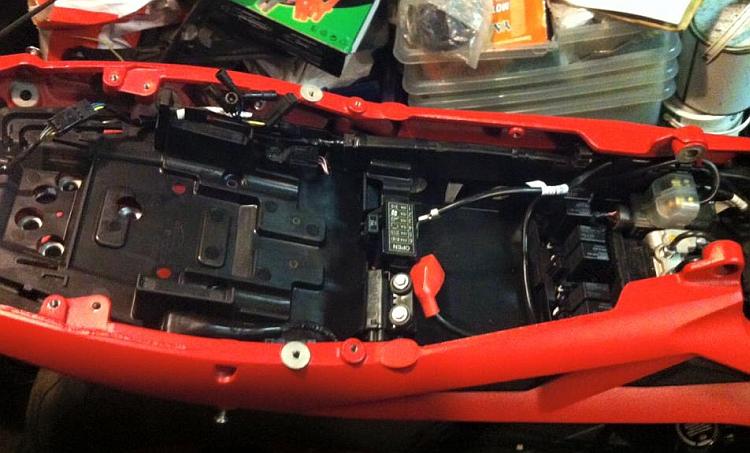 That's better.
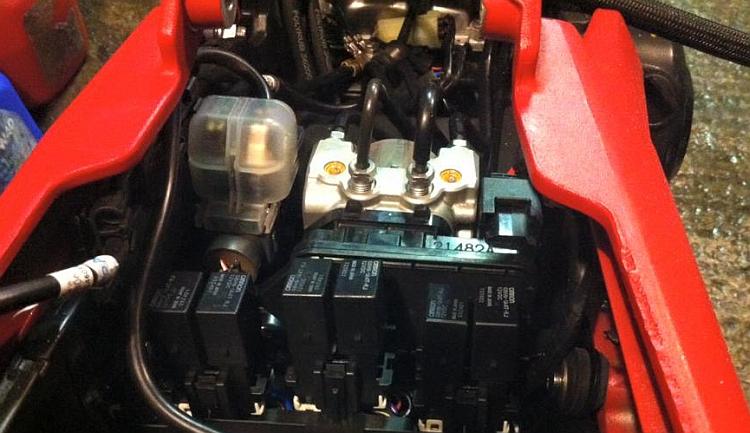 Even the ABS unit is all tucked in neatly.
Buying The Bent Bike
Stephen receives his broken and bent Striple RX and starts the process of fixing that which can be fixed and replacing the rest. It's not all plain sailing.
Sorting The Rear End
Stephen does battle with the rear end of the Street Triple RX. There's drills, there's new and used parts and there's a steep learning curve about how it all fits together
Panels And Paint
Stephen's attention has now turned to sorting out the pretty bits. The mudgaurd needs a repair and paint, the Daytona rear panels are the wrong colour and no-one stocks the right colour!
Bent Wheel And Discs
Stephen is absolutely mortified to find out the front wheel and left hand disc are bent due to the accident. This could get expensive, REAL expensive. Luckily Stephen found expert help.
The Finishing Touches
Stephen's on the home stretch now with the Street Triple RX salvage operation. There's some images of the completed bike looking pristine and perfect.
Reader's Comments
Bill Dempsey said :-
Would it be possible to use a street triple frame to make myself a bobber, as the suspension should work ?
26/02/2017 22:15:51 UTC
Ren - The Ed said :-
Anything is possible Bill, I think for a bobber as I understand them though the Striple frame wouldn't be my choice of starting point.
27/02/2017 07:01:20 UTC
Name
Comment
Add a RELEVANT link (not required)
Upload an image (not required) -
Uploading...
Home
Repair And RestorationStreet Triple RX Salvage (Cat C)