Home
Repair And Restoration
CBF125 Exhaust Fitting
Job Date 11 May 2018
By Ren Withnell
Oh poop. Oh heck. Oh my goodness. Oh no.
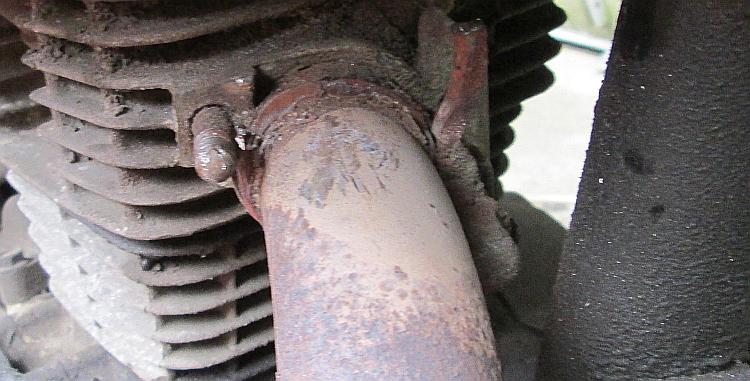
In my previous post ( CBF125 Exhaust - It's Time) I duly noted due to the blowing exhaust gasket it was time to get and fit a new exhaust. In case you can't be bothered to read that basically my primary concern is the 9 years and 73,500 miles of rust around the exhaust studs and nuts. Will everything come apart?
I have ordered and now received a used 2010 CBF125 exhaust via fleabay. I did not think it was possible to "pack" an exhaust but the vendor has done a magnificent job of doing this. In fact they've done it so well I struggle to get inside the packaging. Well done to them.
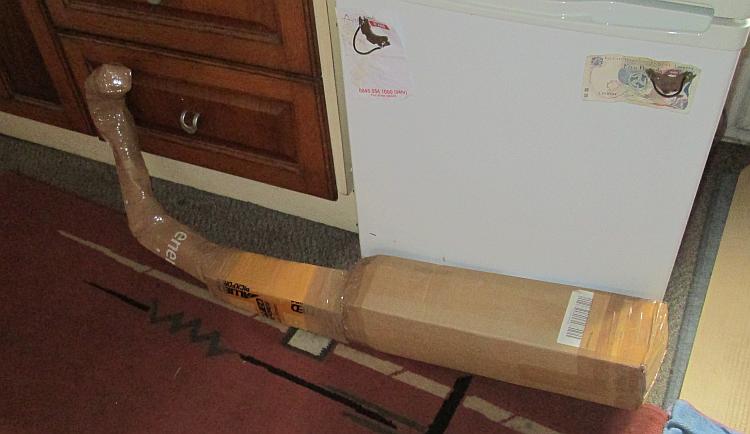
Packaging masterpiece!
The exhaust has obviously been on a bike that's been down the road. The scratches are of no concern to myself and the vendor clearly showed this in the Ebay images. What I am pleased with is the condition of the pipe. Save for a little surface rust it is in excellent condition. If the donor bike was a 2010 model either it had a new pipe recently or it's never seen a winter's day.
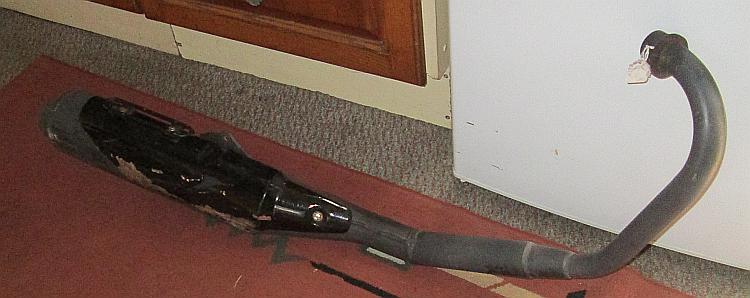
Very little rust, scratches that don't bother me. Happy.
I have received different advice from my previous post. Cut the nuts off the studs. Just heave the damn things off. Lather them in Plus Gas. I have decided to cut the nuts off the studs to see if I can save the studs. I get out the Dremel and attach a thin cutting wheel.
Gently, carefully, slowly (not usually words in my spannering vocabulary) I start to cut into the nut. I make one incision stopping just short of where I think the threads are. I make another cut. I carefully chip away with a hammer and sharp screwdriver. One chunk comes off. Then another. More cutting. Another piece.
I'm getting there bit by bit...
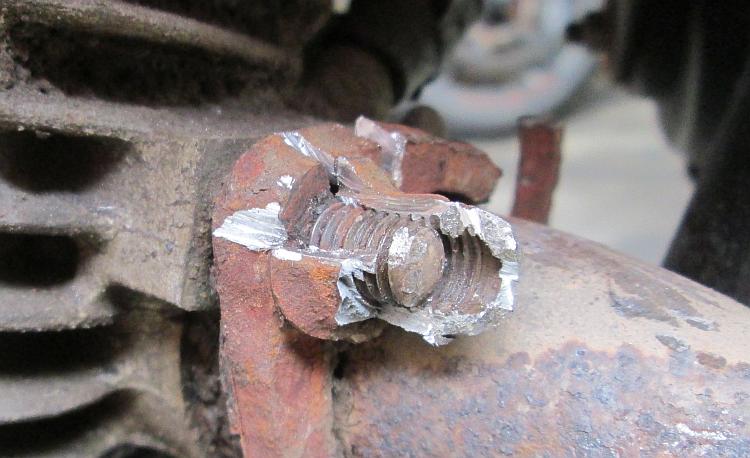
I cut the retaining ring to gain access. I tap tap tap away a piece of the ring and some more of the stud. Then LO! The nut is off the stud and I've only caused the slightest of damage to the stud! WOW!
WOW! And there it is, the stud. It's not as bad as I thought.
There's something unusual. I can't put my finger on it. The stud is dirty and corroded but it's nowhere near as bad as expected. Not bad at all. What? What am I missing?
Aaaahhh. Stupid stupid stupid boy.
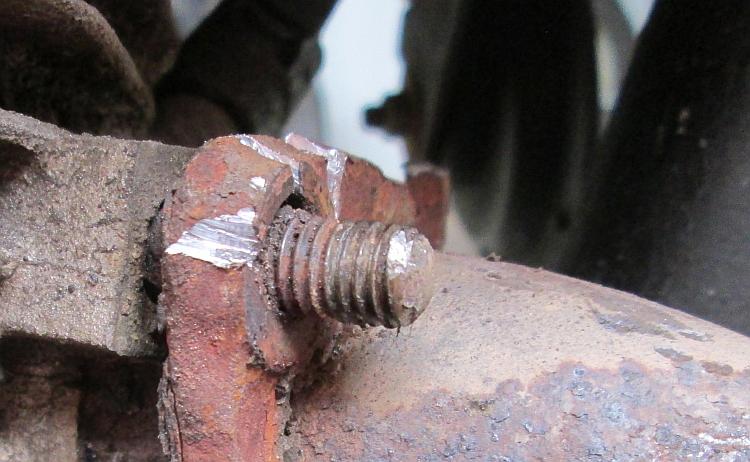
My previous horrors on the earlier 125 (snapped both studs) were due to the skinny cheap M6 threaded studs (10mm nuts on 6mm thread). These studs are different. That nut, that's a 12mm nut isn't it not a 10mm nut. That means the stud is a M8 threaded 8mm stud. 2mm thicker? Yes but...
The cross sectional area of an 6mm stud = pi x 3 x 3 = 28.27mm²
The cross sectional area of an 8mm stud = pi x 4 x 4 = 50.27mm²
So by being just a bit thicker the stud has 80% more "meat" to it. That means there's a lot more strength and a lot more for the rust to get through. Blinking Blimey Blooming Heck it looks like Honda actually made an effort here!! It's amazing what a difference 2mm can make. (Insert mildly suggestive comment here...)
So one stud is off and the retaining ring is in bits. However I can't seem to get the Dremel into the other stud as the exhaust and frame are in the way. I cut away what I can of the rest of the ring to remove the exhaust and gain access. The exhaust is still fast in what's left of the ring. Dammit.
The second nut is hiding between the frame and exhaust. Grrrrr!
Dammit again. Look if it's got these chunky studs and the released stud looks good then shall I just try to undo the other stud? Hmmm. Risky.
I know. Impact wrench time. My thinking is thus. With a human on a spanner the torque is applied slowly and progressively. The impact wrench "shocks" things into submission - removal by a thousand firm taps. Oh sod it I get out the nut-muncher and apply. Oh crap...
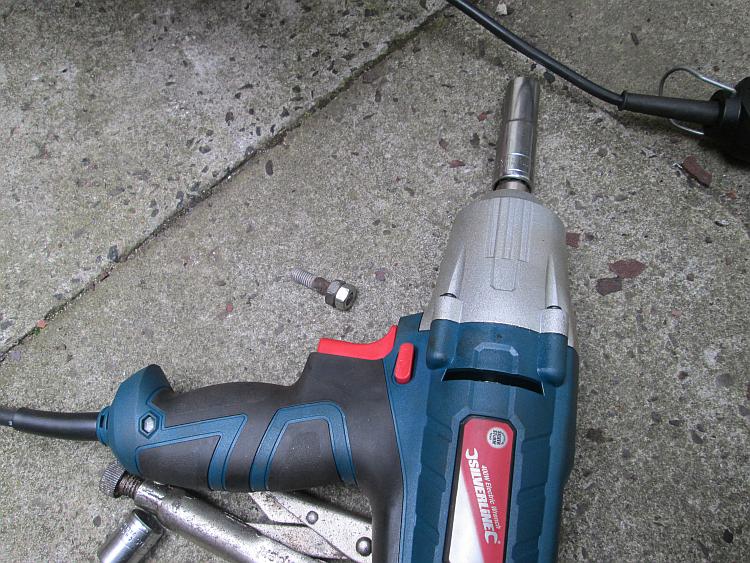
The nut muncher. It's a one way kill-or-cure tool. Brutal.
"Dunk dunk dunk dunk dunk...Dunk dunkdundun dddddd...whizz!" Oh my, oh heck, I cannot BELIEVE IT! The nut and the stud has come out completely and safely. I'm on a roll here. I fit 2 nuts tightened to each other on the other stud and whhhhizzzzz! That's out too.
I sit on the floor in dumbfounded amazement. The exhaust is off and I have 2 holes where the old studs were - both with perfectly serviceable threads inside them. This is way beyond and far above the expected outcome. I have to pinch myself several times to make sure I'm not tripping out on some brake cleaner.
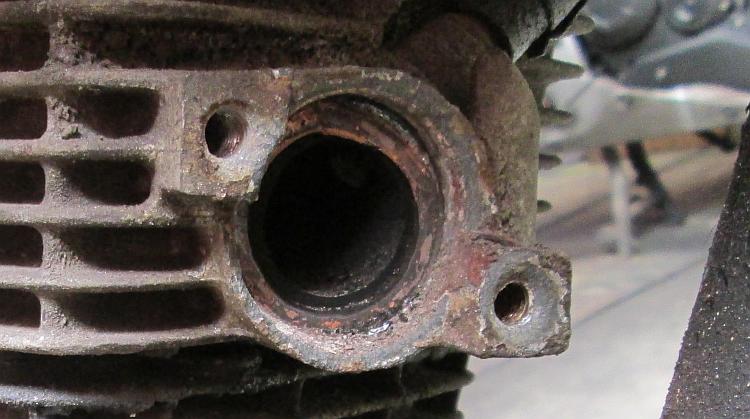
If I couldn't see it with my own eyes I would not believe it. Ever.
I have some M8 threaded bar. I think it's stainless, it's been in my nuts and bolts drawer for years and it's not gone rusty at least. I cut 2 new studs and grind the ends. I lather the holes and the new studs in copperslip (just in case it's not stainless so I can get some stainless and retro fit it). I remove the old gasket and fit the new one. I offer up and fit the new exhaust. I start the bike.
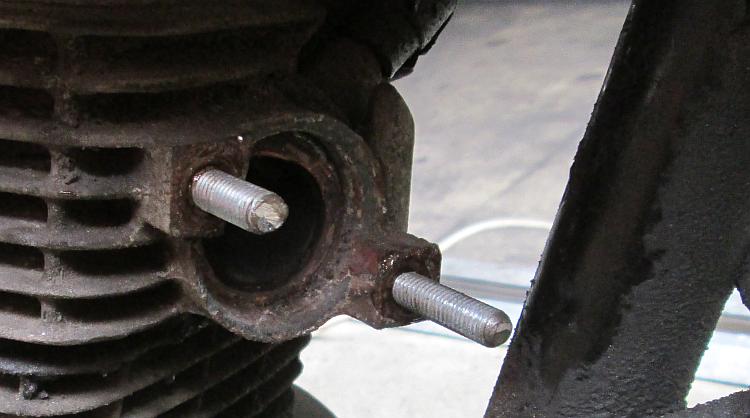
New studs from threaded bar.
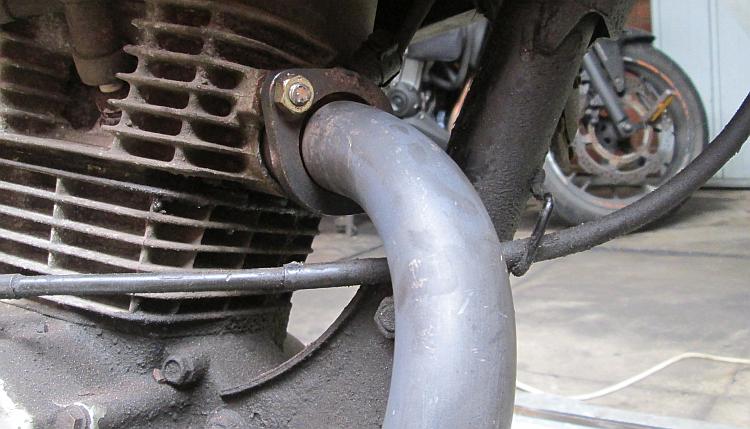
The replacement exhast fits right in no problem.
Naaaaah. This cannot be right. It works. Never in the field of Ren's bodging has a job like this gone well. Luck. Sheer pure unadulterated luck.
Here's the takeaway from this. If you're exhaust studs have 10mm nuts with m6 threads and your bike is ancient then you're screwed. If your bike has 12mm nuts with M8 thread then there is hope. A slim hope. But hope.
If you'd like to publish your mechanical successes or indeed failures here on Bikes And Travels then contact ren@bikesandtravels.com
Reader's Comments
Bill said :-
Well done but I would bet the first one would of come out stud and all and avoided all the cutting and chiselling :-)
But all are wise men when looking back.
15/05/2018 10:01:02 UTC
Ren - The Ed said :-
I do agree Bill. It would have come apart fine I reckon. *BUT*!! I did not know that when I started. I am glad I split the nut first if nothing else to see the state of the nut and to realise it was not an M6 thread.
15/05/2018 13:57:04 UTC
Latchy said :-
Hehe, had to do the same job on the fazer 600, 7 nuts submitted, no. 8 had to be ground stud and all and have another nut welded to it, to remove it so it now has 7 original studs and 1 new stainless stud, and 8 new stainless M6 nuts.
17/05/2018 07:52:27 UTC
tahrey said :-
Darn, that's just made me realise ... I was going to use the two-nut method to remove the half knackered studs on my own cylinder head... but, the CG's studs (and extra deep dome nuts) are decidedly oddball - M7 thread. Yes, seven.
I've got hold of the correct replacement parts to actually fit, but where the blazes am I going to find at least one additional normal nut (which can lock against one of the old dome nuts at least) to do the replacement job with?
Arrgh. The issues just keep piling up.
Presumably they went through M6 to M7 then finally decided "sod it" and went all the way up to M8 because even the M7s proved to be not quite sturdy enough. I mean, they haven't snapped or stripped at least, but they are more or less beyond use already thanks to a combination of the studs rusting out and the (outer 10mm hex, so quite thin metal) dome nuts getting chewed up after only three or four times being undone and then retightened.
07/11/2018 18:08:25 UTC
said :-
*googles*
...oh. Halfords sell them, albeit in a pack with matching bolts. How unexpected. Usually they're hopeless for anything even mildly unusual - most of my replacements for chewed-up originals have in fact ended up having to come from Honda themselves because not only did 'frauds fail me, but so did pretty much any other supplier I could dredge up who didn't want at least as much money.
Maybe I should celebrate by buying an impact wrench as well. I've always wanted an excuse :D
07/11/2018 18:11:04 UTC
Ren - The Ed said :-
You need to find your local engineering supplies shop. There's a place in Chorley near me called "Nuts" and they sell...nuts and bolts as well as bits for lathes and workboots and big hammers and all that. You'll pay maybe 50p for a handful of M6 10mm headed nuts. I feel guilty because it takes them 20 mins to get me £1 worth of nuts and bolts, that's less than the chap getting them for me gets paid for his time.
HEAT. Ideally you need a welding torch to heat the nuts but I have had limited success with a blowtorch before now.
07/11/2018 21:52:44 UTC
Name
Comment
Add a RELEVANT link (not required)
Upload an image (not required) -
Uploading...
Home
Repair And Restoration