Home
Repair And Restoration
Innova Tart Up
Job Received 6 July 2020
By Bogger
I acquired the Innova free of charge earlier this year. Happy days.
However, although it may have been gratis, that does not mean money and time have not been spent on it. Two thousand miles into my ownership I've changed the oil six times. The front caliper has been overhauled. The front and rear brake linings renewed. The timing chain replaced. Quite a bit more besides.
I like to have my bikes right. Well, as right as they can be.
Now a lot of the Innova is covered in plastic panels, but some of the metal bits on show were looking a little tired and rusty. To do the mechanical jobs I've already done most of the plastics have been off and most of the corrosion was on the visible parts and not hidden from view. I took the initial decision to fully fettle the mechanical bits. Then see if I liked the bike.
For the time being it's a keeper.
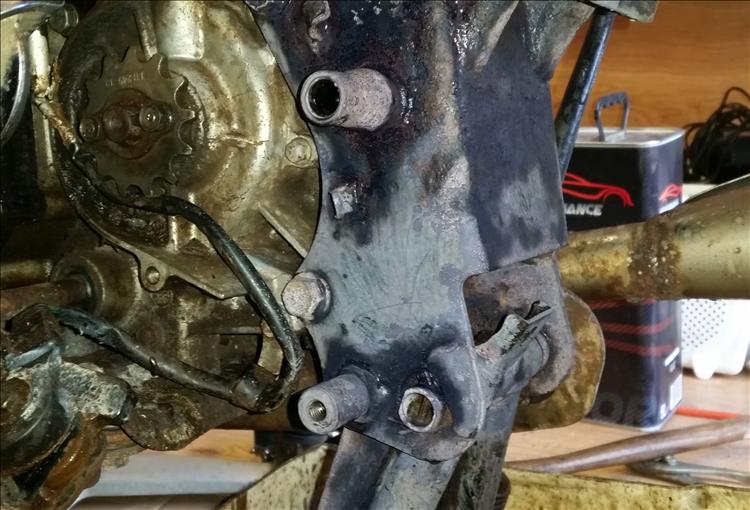
The rust was beginning to get on my nerves and just looking at it would not make it go away. I made the decision to tackle the problem. I promised myself that under no circumstances was I going to open a tin of worms and do a full strip down. Let's just sort the rust on show, put it back together and ride it. After all it's just an old, simple commuter bike which transports an old and simple commuter.
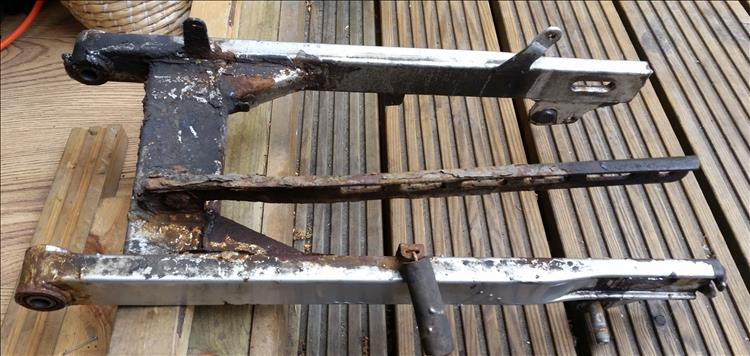
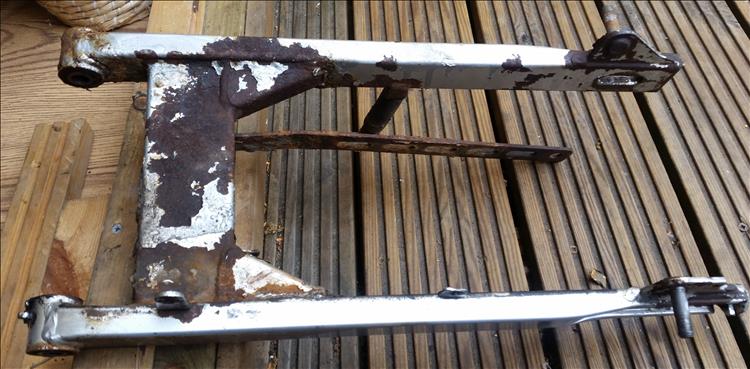
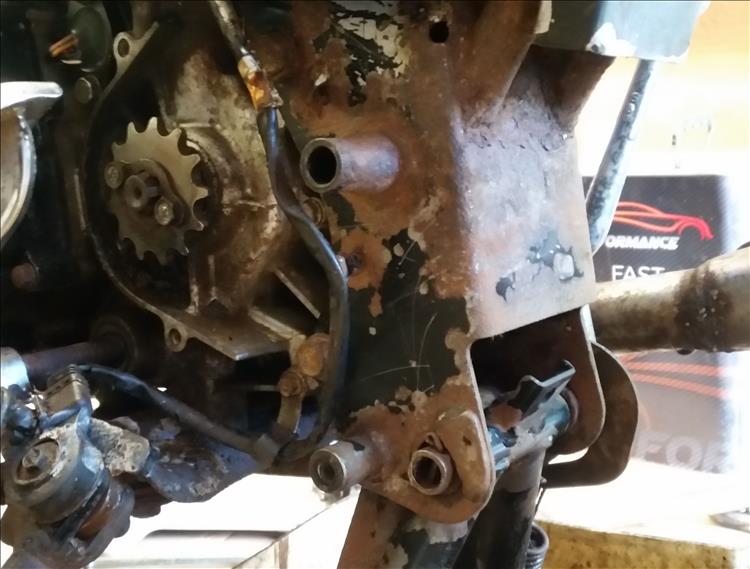
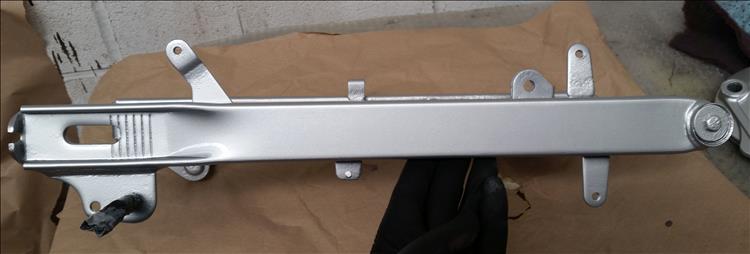
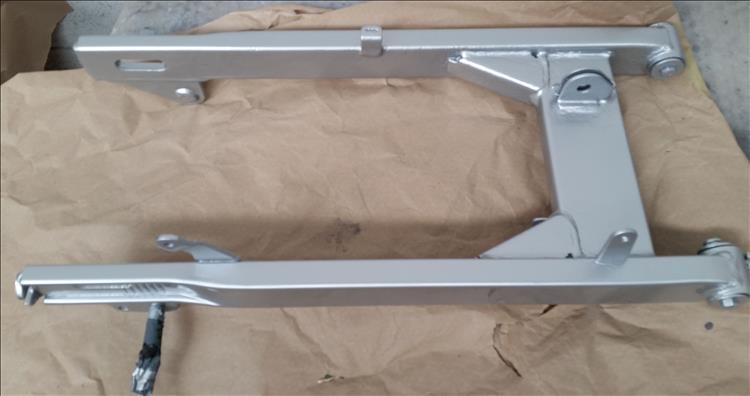
As you can see from the images the worst parts were the swinging arm and its various components and the bottom part of the main frame.
It's all fairly easy to get at. I was however dreading the removal of the swinging arm pivot, they have a habit of seizing. Happily it came out with no issues. The shaft was rust free and even had a bit of grease on it. I took the swinging arm to work for cleaning and de-rusting. In the end I had it sand blasted just to make sure all the rust had gone.
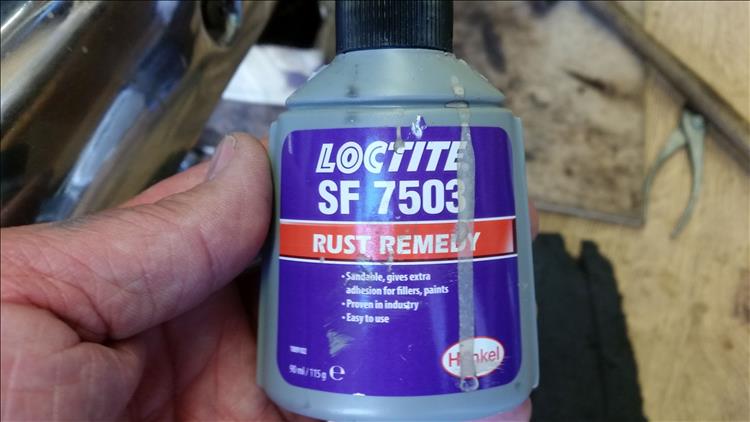
Sand blasting can leave quite a coarse finish so I set about it with various grades of sanding discs. I think I started at 80 grit and worked my way to 320 before any paint was applied. I treated the metal parts with my favourite rust treatment, "Loctite Rust Remedy". Other products are available. Finally I went over all the parts with panel wipe de-greaser and a red scotch pad.
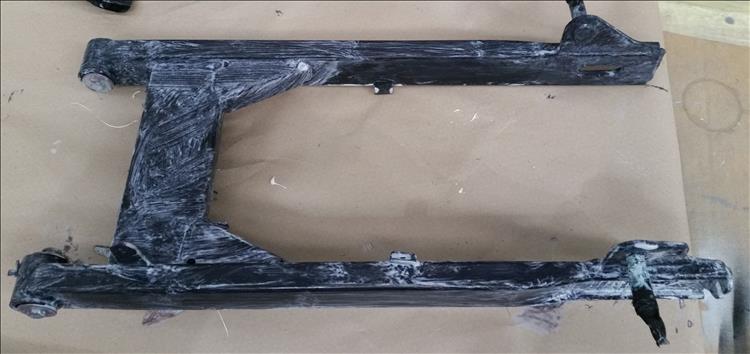
Now the swing arm had quite deep pit marks where the worst of the rust had been. I looked long and hard at these and made the decision not to fill them. If I had the swing arm would have looked mint and shown the rest of the bike up sending me on a guilt trip about the rest of it.
No, remember, it's just an old commuter.
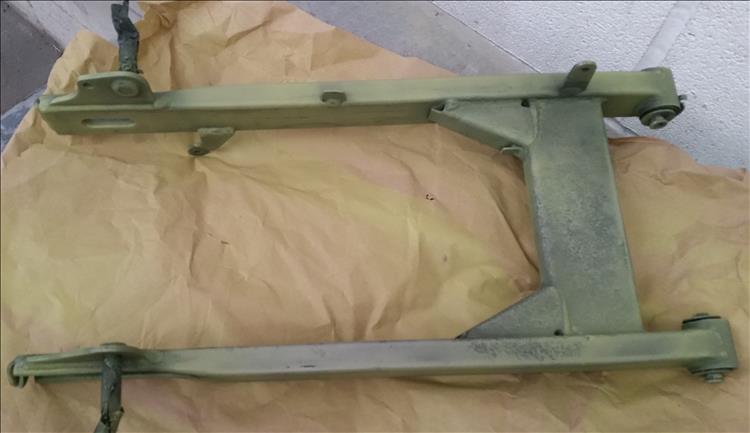
That doesn't mean it can't be painted correctly. So after another de-greasing it was time to start the paint process.
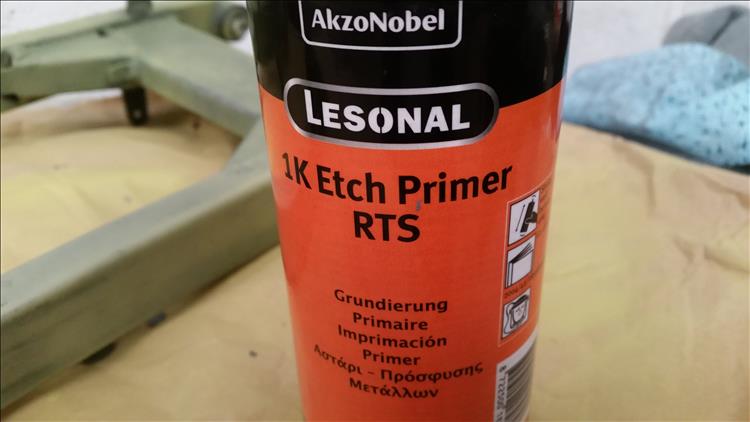
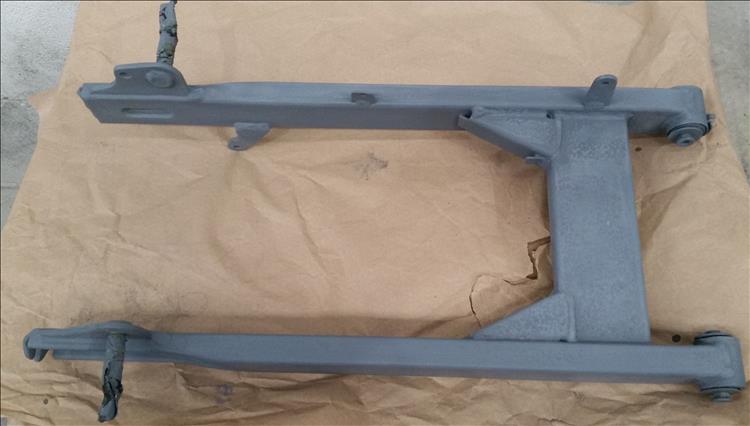
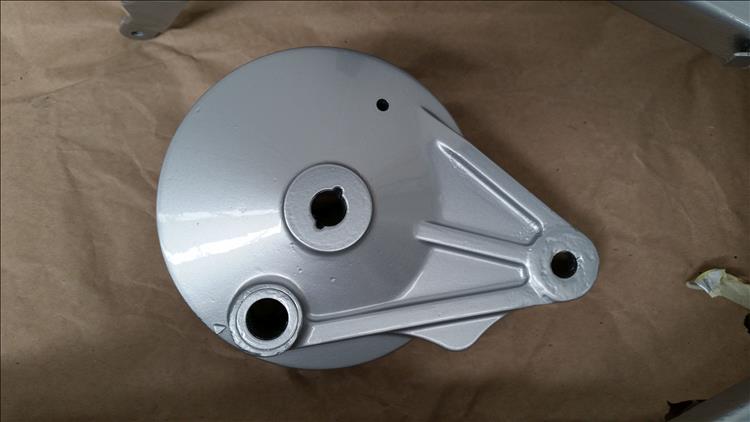
First off I applied Etch primer. High build primer was then sprayed on and was baked and then flatted back. Next it was wet on wet primer, which was allowed to ‘flash off’ and then the silver base coat applied. This finally was followed by 3 coats of 2K clear lacquer, which again was baked. The same process was applied to the brake plate, torque arm and rod, except the last two items were painted gloss black.
Onto the frame, which was painted in the shed at home. I was only going to do the bottom of the frame as the rest of it was ok. No shot blasting on this bit Bogger, just hard graft rubbing it down. In all it took about four hours to prep the bottom of the frame and it still looked crap... but mostly rust free.
So to the painting bit again which was very similar to the swing arm process. A final de-grease then an application of the rust remedy. This was then rubbed down with de-greaser and a scotch pad. Then I masked it off as best I could.
Time for actual paint. Aerosol etch primer first. Whilst this was drying I mixed some 2K high build primer to a fairly thick consistency. I applied the high build with a brush - for two reasons really. Firstly I have no compressor at home, secondly you get a much thicker build with a brush. Oh there is a third reason, I wasn't worried about the finish, just as long as it kept the rust at bay. The primer would take a while to cure at room/shed temperature. The next day I painted on the 2K black gloss coat. Sorted. Just got to put it back together now.
Once it was back together it looked a lot better than it did before and hopefully the dreaded tin worm will be kept at bay for a bit longer. Now I've just got to tackle a tiny bit of flaking paint on the Honda Cub. Watch this space...

If you'd like to advertise on Bikes And Travels contact ren@bikesandtravels.com
Reader's Comments
Jim said :-
Great job - looks really smart.
14/07/2020 08:22:59 UTC
Upt'North said :-
Nice job Bogger, good attention to detail.
I too am a fan of anti rust treatment, I think I used Kurust last, maybe not.
Although I'm more of an amateur black Hammerite sprayer.
As an aside if anyone knows how to used brushed Hammerite without it looking a complete pigs ear please let me know.
Upt'North.
14/07/2020 09:14:21 UTC
Ren - The Ed¹ said :-
...boo hoo... sob sob... I wonder if anyone will ever say anything nice about my own creations?
 14/07/2020 09:52:10 UTC
Jim said :-
Your creations are lovely of course Ren. But how big are your hands?
14/07/2020 10:31:50 UTC
Ren - The Ed¹ said :-
HAHA! Cheers Jim, you are kind (and a liar). My hands aren't very large at all but they are warm.
14/07/2020 10:55:43 UTC
CrazyFrog said :-
Up't - do yourself a favor and forget about brushed Hammerite - they changed the formula a few years back and it's rubbish now. I've found Rustoleum CombiColor to be the best replacement for brushed Hammerite. It's very gloopy in the tin, just like Hammerite used to be, and goes on really thick. I've had decent results by thinning it down a bit and applying 2 or 3 thin coats rather than one thick one.
14/07/2020 12:27:10 UTC
Upt'North said :-
Thanks CF, I'll keep my eyes open for that.
Upt'North.
14/07/2020 12:50:49 UTC
Upt'North said :-
Ed, you know your secrets are safe with us.
The other children at school didn't used to take the mickey and call you Orangutan Hands did they.
Shame innit. Perhaps you need to open up to us more, let us know your issues and problems, we would be there for you, you big handed orangutan you. It's an offer that is difficult to turn down, no?
Upt'North.
14/07/2020 12:58:32 UTC
Bogger said :-
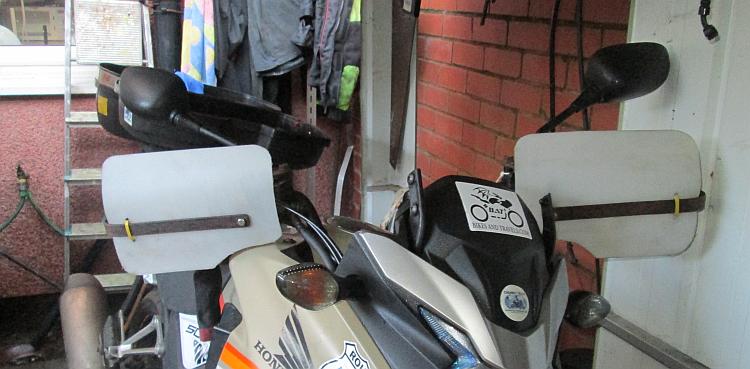
Oh Lordy. 6K bike 20p handguards.
Bogger
14/07/2020 13:18:37 UTC
Ren - The Ed¹ said :-
You know what they say about men with big hands Upt'? Big hand guards.
You most certainly do not wish me to divulge my deepest darkest secrets and open up to you. You'd be having nightmares for years. I on the other hand rather enjoy my deepest darkest secrets. Now, where's that tree gone that I was swinging from?
Bogger - 20p? You flatter me sir.
14/07/2020 13:23:03 UTC
Ian Soady said :-
On the other hand, if you want a decent and very robust finish use Paragon coach enamel. Glass-like gloss and very tough.
https://www.stationaryengineparts.com/Paragon-Paint-Products/...
14/07/2020 14:03:09 UTC
Borsuk said :-
Ren - The Ed¹ said :- ...boo hoo... sob sob... I wonder if anyone will ever say anything nice about my own creations?
Pretty ness wise, No!
Function wise Yes.
Accept it Ren, you are all function over form.
14/07/2020 14:53:47 UTC
Bob said :-
The only thing with those handgaurds Ren - I thought you were all for economy? Surely they create not inconsiderable drag?
15/07/2020 07:52:09 UTC
Ren - The Ed¹ said :-
Borsuk - so basically what you're trying to say is I might be useful but I sure am uuuuuugly!
Bob - DAGNAMMIT! Yes you're right, curses be upon you. I'm going to have to go and create an aerodynamic version now. I'm thinking papier mache cones on the front leading to a tear-drop tail-off to gracefully form into my wrists. Am I on the right track?
15/07/2020 08:21:18 UTC
Ren - The Ed¹ said :-
Ian - have you used the coach enamel? I've seen the finish on plenty of steam engines and it appears very robust. Also they claim their heat resistant paints are good for exhaust manifolds and I have failed with high temperature paints many times.
15/07/2020 08:24:16 UTC
Ian Soady said :-
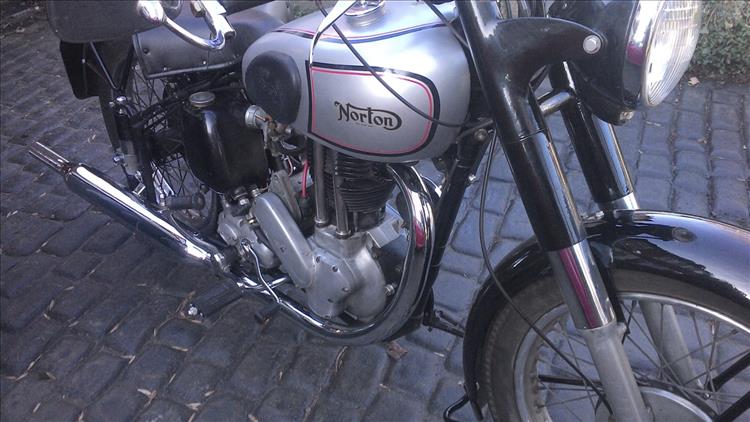
Yes, have used it on the Norton with good (but not concours) results. As always preparation is key (pun intended) and I have to say I'm a bit idle in that respect. With coach paint, it's essential to make sure there's no dust about and that the surface is absolutely clean. I also like to use soft brushes as you need to "lay off" the paint once applied to eliminate brushmarks. There are some good hints & tips on the Paragon website.
I used to be a fan of Tekaloid but had poor results last time I used it.
The Norton mudguards, forks etc are my handiwork. At £20 or so for half a litre which is ample to do a whole bike it's cheap which should appeal to you Ren!
 15/07/2020 12:25:35 UTC
Ian Soady said :-
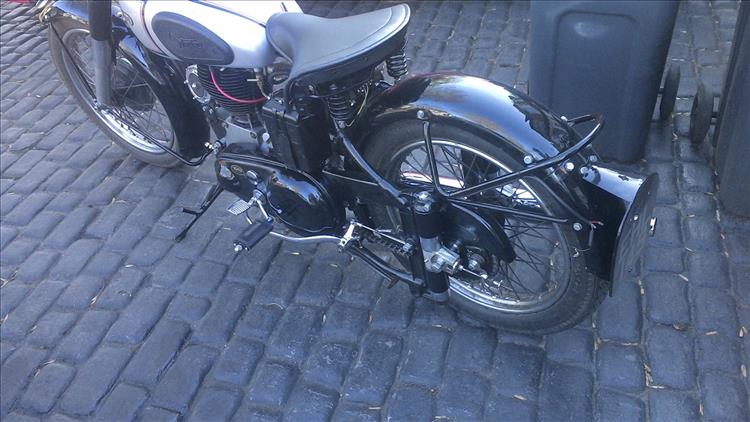
Rear mudguard.
 15/07/2020 12:28:35 UTC
Ian Soady said :-
You might just be able to see the welds here:
 15/07/2020 12:31:21 UTC
Ian Soady said :-
I've put that in the wrong thread.....
15/07/2020 12:32:16 UTC
CrazyFrog said :-
That looks really nice Ian. I have good results in the past with coach enamel from Craftmaster Paints (see link), which is probably similar stuff.
https://www.craftmasterpaints.co.uk/...
15/07/2020 13:47:14 UTC
Upt'North said :-
Nice painting sir.
When most HGV cabs were hand painted the finish was amazing.
Upt'North.
15/07/2020 15:20:28 UTC
Ian Soady said :-
I have to say the photos flatter it somewhat. There are some runs and other imperfections - I excuse the runs as apparently when new the way to paint these bits was just to submerge them in a vat of paint then hang them up.... Of course that would have been stove enamel.
The only issue has been that it's not petrol proof and a dripping nearside tap stripped the primary chaincase, which is a pig of a job to paint as it's so many different contours.
15/07/2020 16:17:06 UTC
Name
Comment
Add a RELEVANT link (not required)
Upload an image (not required) -
Uploading...
Home
Repair And Restoration