Home
Repair And Restoration
Honda Camchain Tensioner Tool Bodge
Bodge Date - 29 February 2016
By Ren Withnell
Automatic camchain tensioners...pffft. Honda's version uses a simple coiled up spring akin to a large watch spring. The tensioner can be screwed back (ie slackened) with an ordinary screwdriver but the moment the screwdriver is removed the tensioner immediately pops out to full extension. This is by design.
 One of Honda's camchain tensioners...in bits.
If you have comfortable access to the tensioner then this isn't really a problem. A competent spanner operator can hold the screwdriver in place against the tension while the tensioner unit is replaced into the motorcycle. Once the tensioner is in place the screwdriver is released and the camchain is automatically placed under the correct tension. Simples.
But what if, like my friend MW, you're working on a 2000 model CBR 600 where the tensioner unit is up tight behind the alloy frame with very limited access? Honda has thought of this. They sell a tiny piece of flat metal. One end goes into the slot that unwinds the tensioner, the other end locates in recesses at the top of the tensioner. In fact Honda don't expect you to buy this item, most of their own workshop manuals provide a drawing with which to cut out and fashion your own. Awwww, thanks Honda.
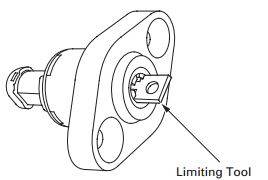
Honda's tool is simple and effective and can easily be made at home.
But then what if you don't have a suitable piece of metal and a suitable hacksaw handy? Fear not dear reader, for Ren and his friend MW found themselves in this very situation. Between them they found a piece of wire, a file and some gaffer tape.
Stage 1. Bend the piece of wire and use the file to create something akin to a small screwdriver.
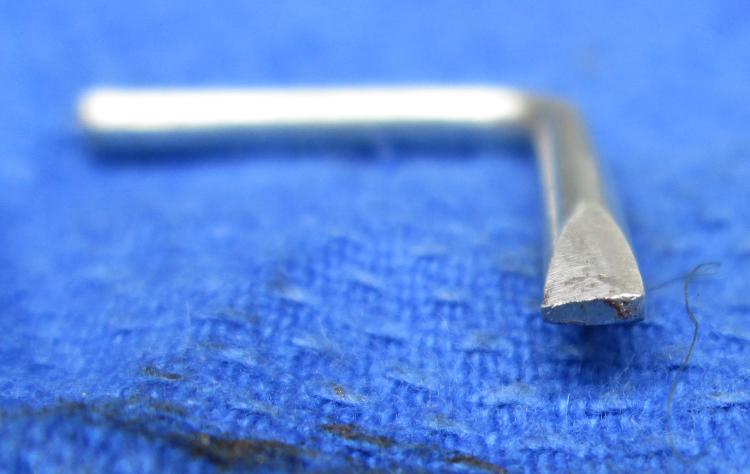 ...something a bit like this...
Stage 2. Use your new tool to wind the tensioner back.
Stage 3. Tape the tool in situ with gaffer tape.
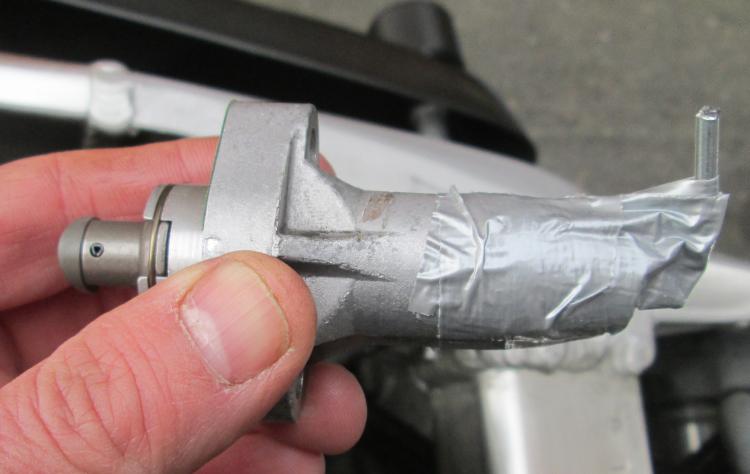 The tape holds the tool and the tool holds the spring. Genius.
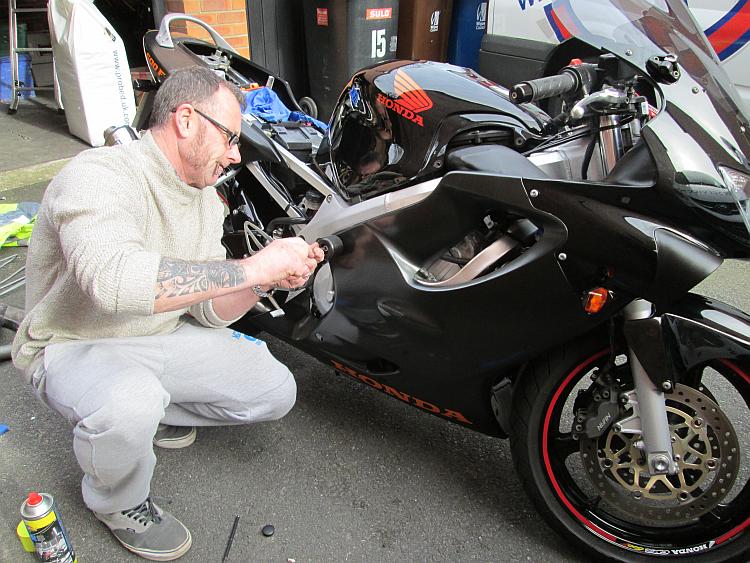
Stage 4. Insert the tensioner, bolt in place.
Stage 5. Remove gaffer tape then the tool. Listen for "zzzzip" as the tensioner springs back.
Stage 6. Have a brew and marvel at our ingenuity.
 I hope you enjoyed this article and found it useful. Yours sincerely, Bodgit and Scarper - Mechanics of ill repute.
Reader's Comments
Martin said :-
This was a fantastic idea, & it worked.
29/02/2016 16:36:17 UTC
Ren - The Ed said :-
Sure did...and the bike is working too.
29/02/2016 18:52:51 UTC
Bob said :-
What is it with Honda and camchain tensioners?
Why don't they just copy Yamaha's ratchet clicky thing?
01/03/2016 16:13:25 UTC
Ren - The Ed said :-
Agreed Bob. Having worked on Sharon's rather simple ratchet and spring mechanism from her Suzuki copy Keeway it does rather make Honda's obsession with peculiar springs seem somewhat left field.
I guess when the rest of the Honda is perfect they have to throw in a quirk. Am I biased? Probably.
01/03/2016 18:40:22 UTC
Name
Comment
Add a RELEVANT link (not required)
Upload an image (not required) -
Uploading...
Home
Repair And Restoration