Home
Repair And Restoration
Zip Tie Tyre Change (Tubed Tyre)
02 October 2014
By Ren Withnell
Changing your own motorcycle tyres is not easy. There's folks I've met and videos I've seen on YouTube that all make it look very easy, but it's not. It's fighting with tyre levers, it's scratched rims, it's that annoying final part of the bead that just won't quite get over the goddam bloody godforsaken rim. A friend of mine (SL) and myself have often talked of various DIY tyre changing kits you can buy, of making our own and of better techniques. Practice helps, a lot, but even an experienced DIY tyre changer such as SL still find the whole task at best awkward, at worst a nightmare.
Then these videos of people using zip ties to change their tyres came up on YouTube. Here's one example in 2 parts, it's long and rather dull so just skip through it to get the idea.
Wahoo! Zip ties are cheap and this is obviously the way to go! I do have a slight concern about crushing a nice new tyre in such a manner that it's deformed but various forums and other websites all report that it causes no long term issues. This is it, this is the future, I'll never need to fight with tyre irons or pay for fitting ever again. The days of the tyre shop are numbered, the future is zip ties. I even consider starting my own tyre fitting business travelling around on the bike with a pack of zip ties and some tyre fitting lube. Yeah, go me!
Coincidentally the gf has worn out the rear on her Keeway. She's purchased a shiny new Pirelli MT75. So it falls to myself and my tyre fitting expert friend SL to fit said tyre to the Keeway. I duly set off to SL's house with the gf, the tyre, a pack of zip ties and the feeling that this is going to be the simplest thing in the world. I daresay I'm excited.
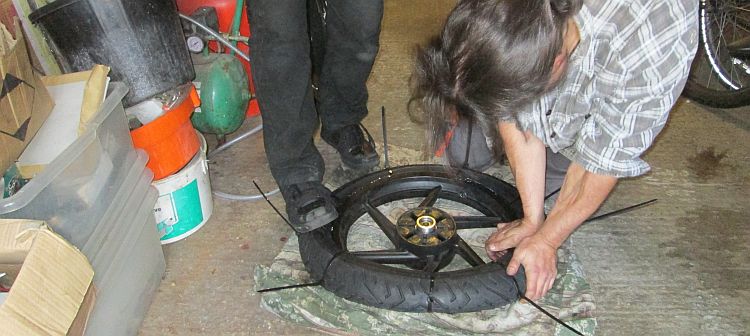
Taking the rear wheel off is a doddle. The gf helps, keen to learn. She then wraps zip ties around the tyre in various places and with a little help she pulls them all good and tight. The tyre should just wriggle off now. Nope. It feels just as tight and as awkward as any other tyre we've done. Before long we've got the tyre irons and rim protectors out. Sure enough we're fighting, wrestling, cursing and heaving at the rubber, just the same as ever. Eventually it comes off.
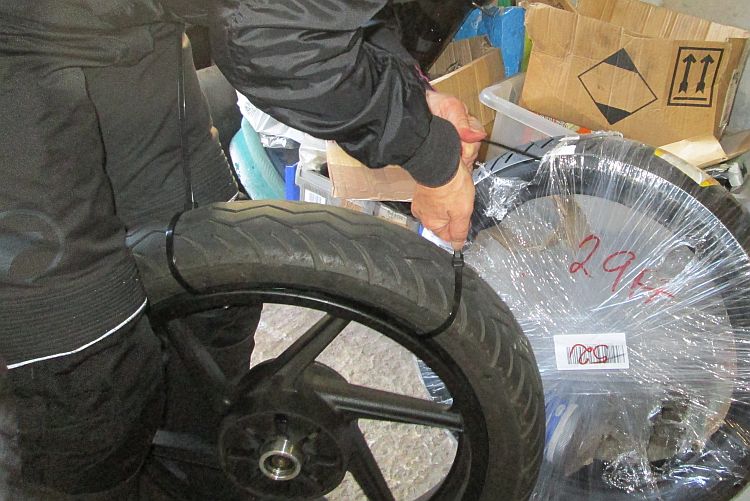
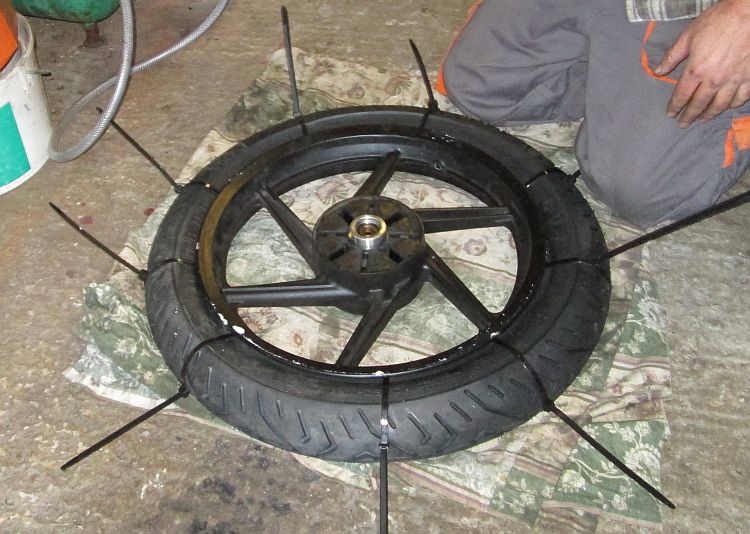
The gf adds the zip ties, no problem.
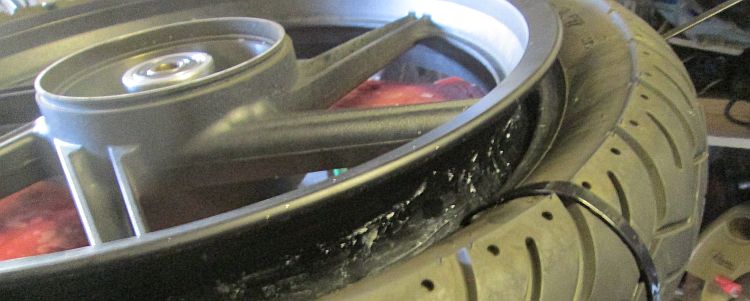
It looks like it should just fall off the rim now.
Nope...out with the old tyre irons.
Maybe, hopefully, fitting the new tyre will be easier.
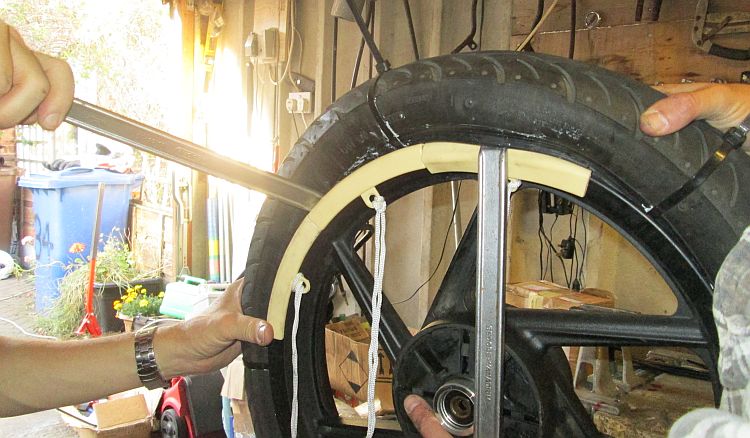
The gf zips up the new tyre, we ensure to use plenty of zip ties to be certain. Does it slip on like a glove? You've gessed it already, does it heckers like. I hold the rim and the tyre while SL stands on the rubber, jumping up and down. We apply more lube, try different approaches and scratch our heads. Nope, it still comes down to brute force. We avoid the tyre irons as the gf's bike has tubes and tyre irons often nip and puncture tubes. It's a case of fighting and standing on the bead until it is forced into submission.
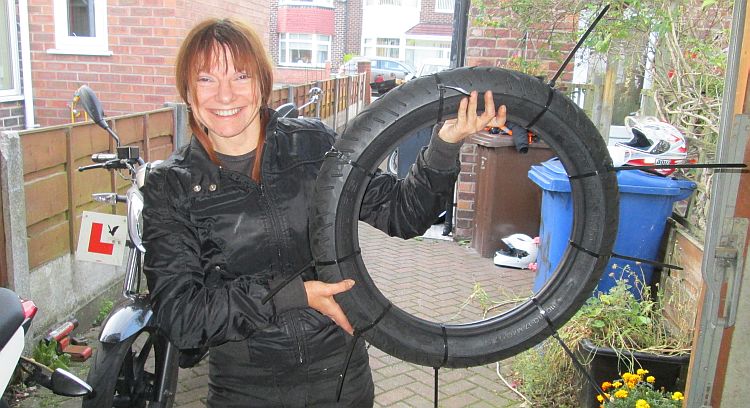
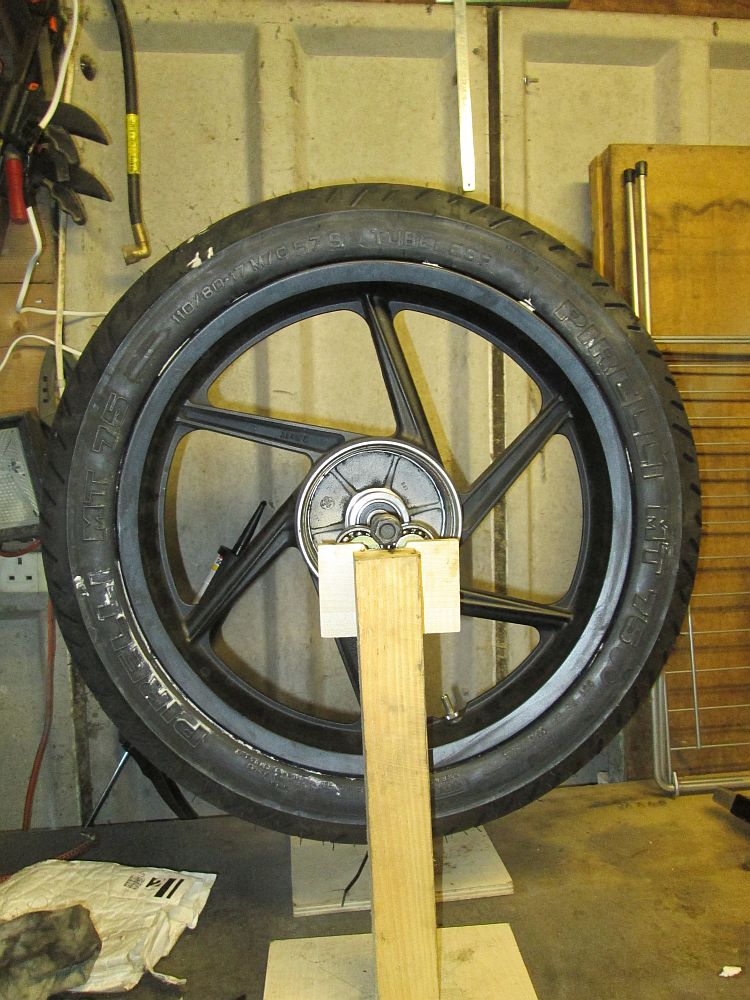
Our model shows us the new tyre all ready to be fitted.
Get on ya bugger!
Thank goodness...it's finally on.
So that's been our experience. There is one proviso, one thing to note here. The gf's bike tyres are tubed. As such the rim construction is different. There appears to be LESS central recess which is critical for easy tyre fitting. Maybe this zip tie tyre change thing works better with tubeless rims that typically have a deeper central recess. When I get to do a tubeless tyre, I'll be sure to report on that too.
A quick balance just to be sure.
Reader's Comments
Jon said :-
You are quite correct, the narrow wheel rim and tubed type wheel aren't helping you, not much well to push the tyre bead into and give you room to pull the opposite side bead over the rim. Tyre levers and plenty of them will help.
01/01/2000 00:00:00 UTC
Ren - The Ed said :-
Hi Jon
Yeah, twas a blooming nightmare! I often wonder why the recess, or as you correctly call it the "well" is not deeper on ALL rims. Hmmmm...imagine if the well/recess was so deep the tyre would just slip off.
I smell a conspiracy between the tyre fitters and the wheel makers...
01/01/2000 00:00:00 UTC
said :-
24/05/2018 11:18:43 UTC
Bill said :-
At £10 my local tyre depot charges to fit and balance the tyre to a loose rim its not worth the grief. I just had two new tubeless Michelin fitted to the CBF 250 and the price difference in them supplying and fitting was no different than buying them mail order and paying to have them fitted.
Tube tyres on the trailbike I do myself with tyre levers, but you have to be able to do this to cope with punctures on the trail, the only good thing is no painted rims to scratch and years of practice.
 24/05/2018 17:23:54 UTC
Ren - The Ed said :-
There is that - by the time we've done battle and scratched the rims and trapped our fingers...was it worth it?
Personally I view it as a skill I wish to practice and improve upon. Why do people make model trains, why do people restore old bikes?
Now if can just get !y fingers out from between the rim and the bead the pain might lessen a little.
24/05/2018 17:58:47 UTC
Bill said :-
Until you notice a tyre lever missing and realise its in the newly fitted tyre :-)
Practice makes perfect or lots of sore fingers. hehe
24/05/2018 18:25:29 UTC
Name
Comment
Add a RELEVANT link (not required)
Upload an image (not required) -
Uploading...
Home
Repair And Restoration